Honey Brownies
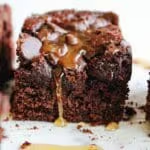
Honey Brownies = deliciously chocolately brownies sweetened entirely with honey!
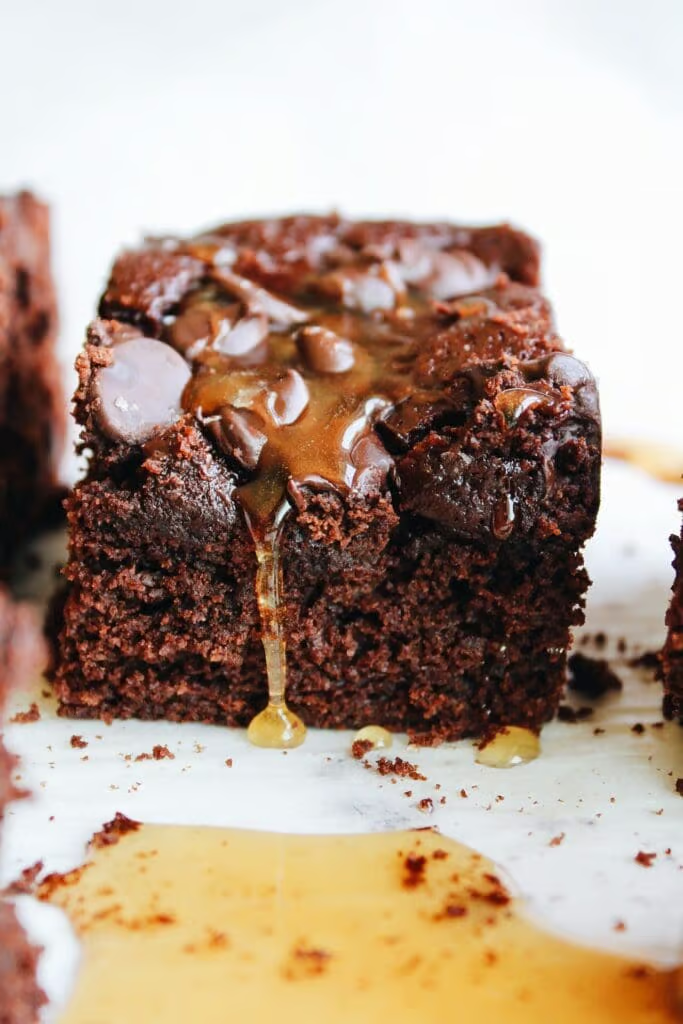
I love honey. Something about it just seems special and magical and I mean it kind of is. It’s also just a really great way to naturally sweeten desserts and throw in a few health benefits too! These Honey Brownies are so good. Rich and chocolatey and easy–that’s just as important. Let’s make them!
Disclaimer: This post may contain affiliate links, which means if you decide to purchase any of the items linked in this post, I should earn a small commission. This creates no additional cost to you and helps support the work that goes into running The Fig Jar. Thank you! -Becky
Why you’ll love these honey brownies
There’s nothing better than a chocolatey, chewy brownie– am I right? I love cake and all things sweet, but brownies are definitely a top 5 fave for sure. And if I’m honest it’s one of those things (like pizza) that are hard to truly mess up but when they are done right, man are they amazing. And these definitely are amazing. Here’s why:
- Naturally sweetened – we are only going to use honey to sweeten these brownies!
- Rich chocolate flavor – a must for the perfect brownie
- Perfect texture – another must
- Easy to make – for when you need a perfectly chewy/rich/chocolatey brownie right now!
Ingredients
Honey Brownies
- Unsweetened baking chocolate
- Butter
- Honey
- Eggs
- Vanilla
- Flour
- Cocoa powder
- Salt
- Baking soda
- Chocolate chips (optional, but highly recommended!)
How to make Honey Brownies
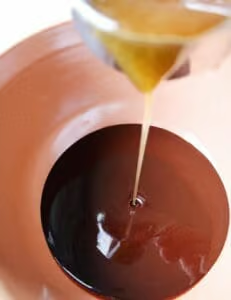
Start by melting baking chocolate and butter. Mix well, then add the honey.
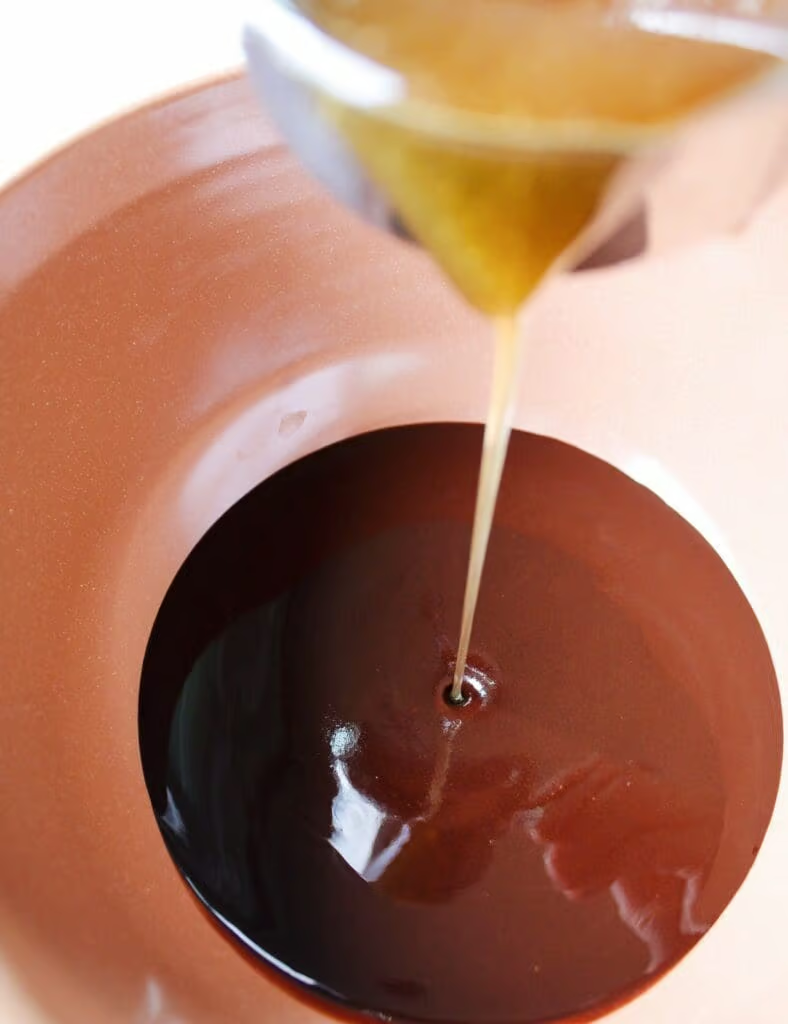
Allow this to cool slightly while you measure the dry ingredients. Then, add the eggs and vanilla to the mixture.
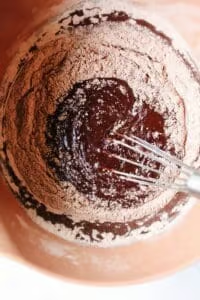
Now in go the dry ingredients: flour, salt and baking soda.
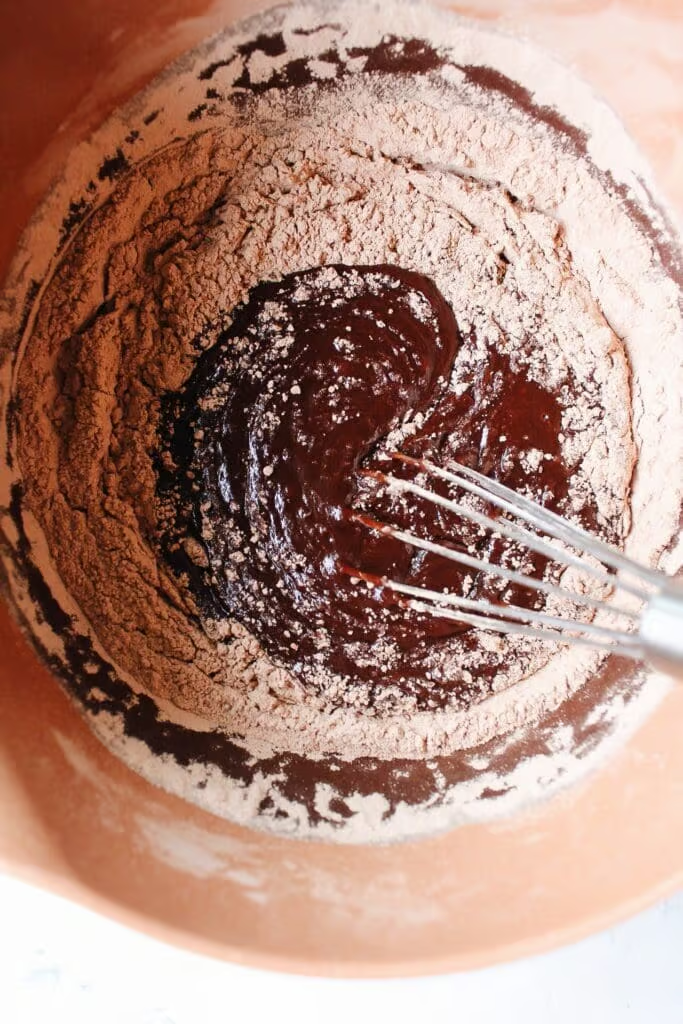
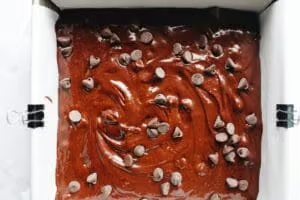
Add chocolate chips and spread the mixture in a prepared 8 x 8 baking dish.
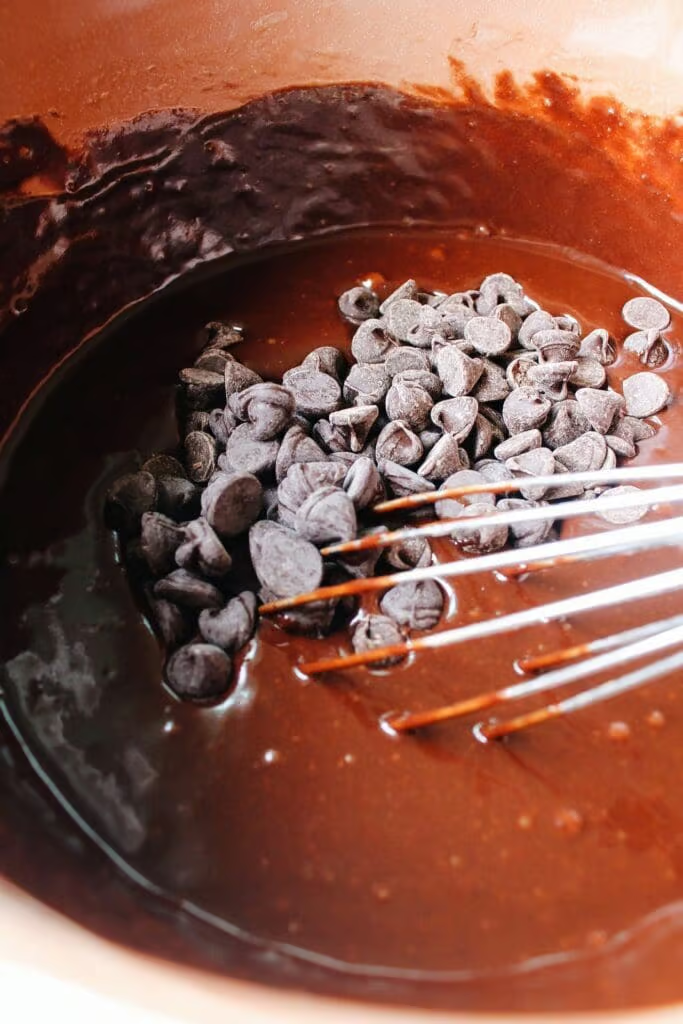
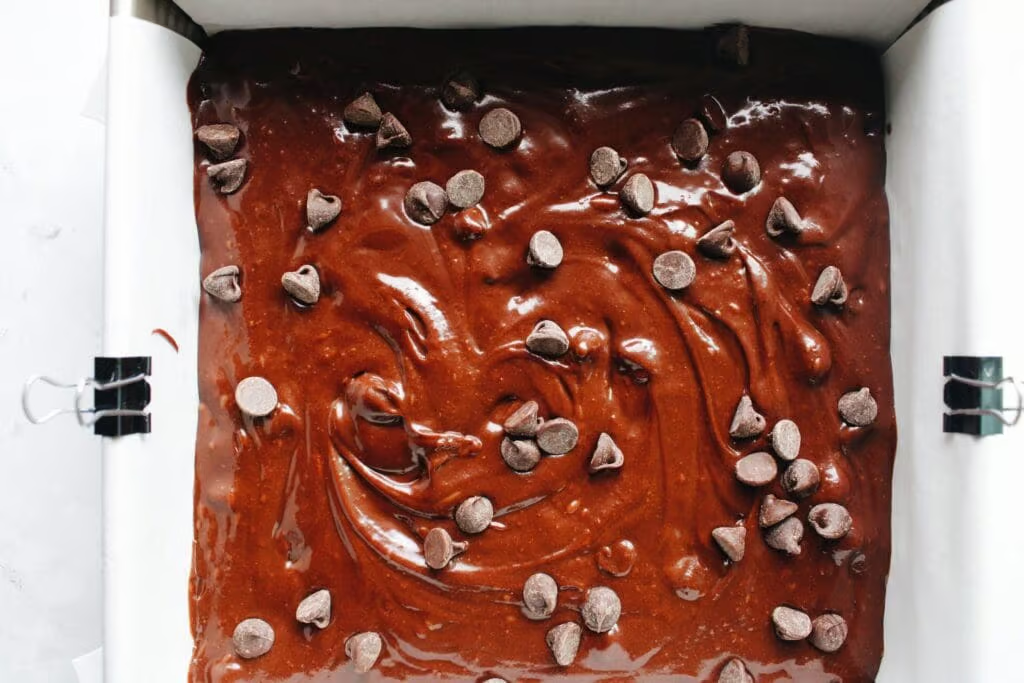
Bake at 325 for about 40 minutes. (Feel free to top with a few extra chocolate chips!)
How to tell when brownies are done
This can be so tricky! This is why you will almost always see a range for the cook time on brownie recipes. The best rule of thumb is to check on the brownies 5 minutes before the lower range of the cook time to get an idea of where things are at.
Most recipes will say things like remove the brownies when a toothpick inserted comes out with a few crumbs. And that’s what you want to do here but maybe a tiny bit before that. Better to take brownies out a tad too soon than leave them in too long.
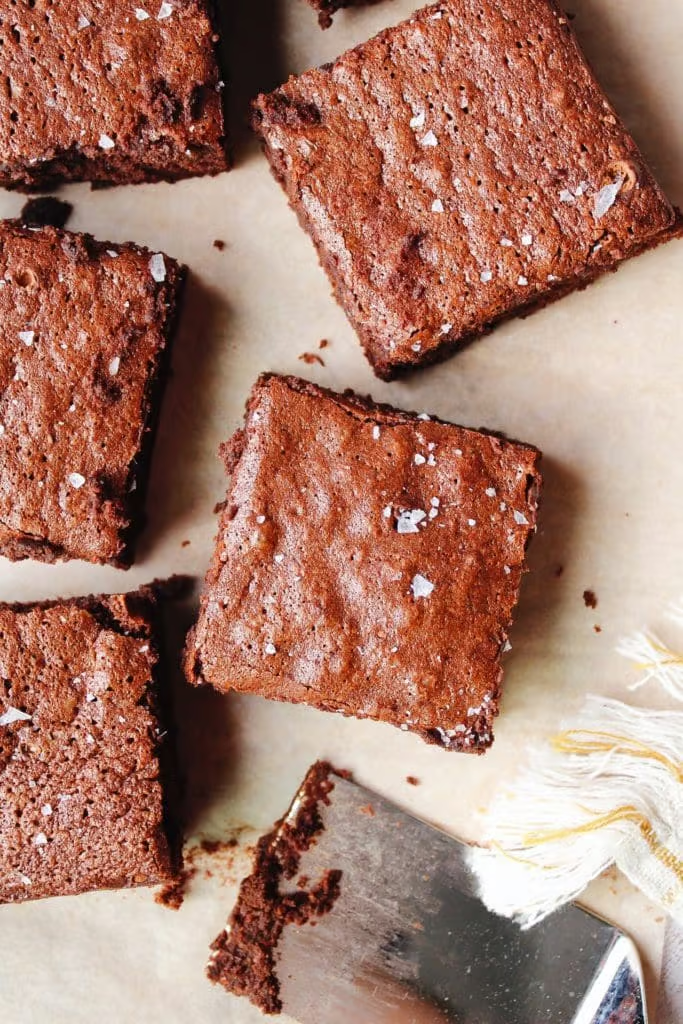
I like to take brownies out when the center has the slightest bit of jiggle.
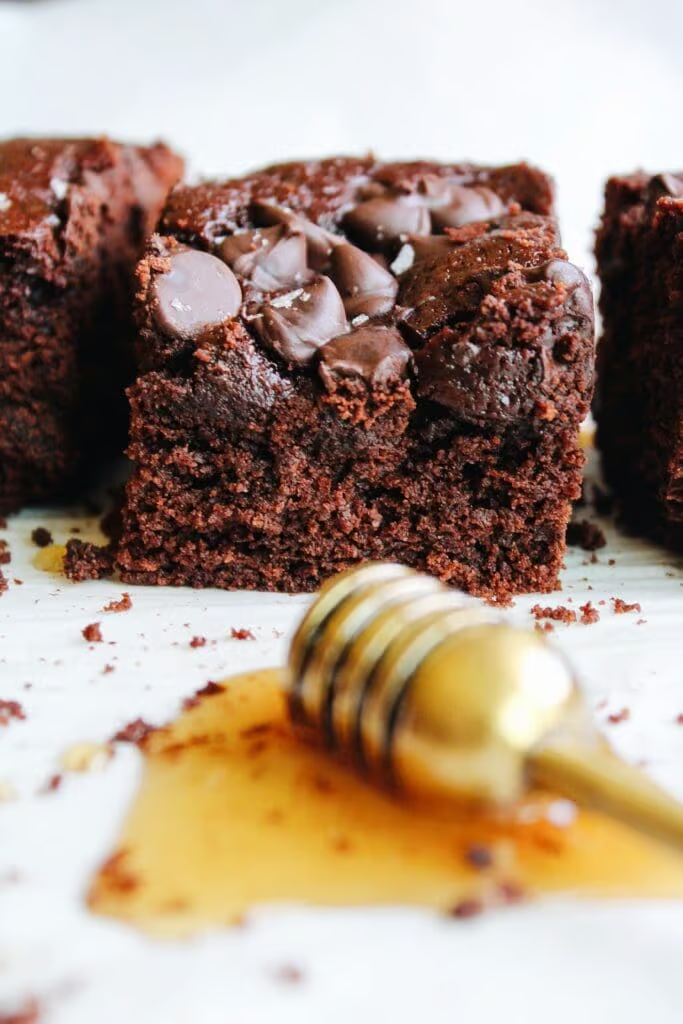
The sweet spot for me and my oven is about 40 minutes. Allow the brownies to cool in the pan for at least 30 minutes before serving.
Tried this recipe?
If you try this recipe, please leave a star rating below and let me know how it went. I’d love to hear from you! You can also find me on Pinterest!
You might also like these recipes

Honey Brownies
Rich and chocolatey brownies sweetened only with honey! They are easy and so delicious.
- Prep Time: 20 minutes
- Cook Time: 40 minutes
- Total Time: 1 hour
- Yield: 9 brownies 1x
- Category: Dessert
- Cuisine: American
Ingredients
- 4 oz unsweetened baking chocolate
- 1/2 cup salted butter (one stick)
- 1 cup honey
- 1 tsp vanilla
- 2 large eggs
- 1/4 cup cocoa powder
- 1/2 tsp salt
- 1/4 tsp baking soda
- 1/3 cup all-purpose flour
- 3/4 cup chocolate chips (optional)
Instructions
- Preheat oven to 325.
- Prepare an 8×8 metal baking dish, either line with parchment paper or grease with non-stick spray or butter.
- In a small bowl, whisk together the cocoa powder, flour, salt and baking soda. Set aside.
- Melt the butter and baking chocolate in a large, microwave-safe bowl in 30 second intervals, stirring between each interval. Do this until fully melted, this should take about 2 minutes.
- Add the honey to the melted butter and chocolate, then stir throughly. Add eggs and vanilla and stir again until fully combined.
- Add the dry ingredients and stir until fully combined. Stir in 1/2 cup of the chocolate chips if using.
- Spread the mixture evenly in the bottom of the pan and top with remaining 1/4 cup chocolate chips if using.
- Bake for 30-40 minutes, until the center has a slight jiggle. A toothpick inserted will come out slightly goopy but not completely runny.
- Allow brownies to cool for at least 30 minutes before cutting and serving.
Notes
Honey – if you’re honey is crystallized, microwave (in a microwave-safe container) until smooth before you begin.

These brownies are super delicious! Came out great first try. My colleagues at work were very impressed. Thanks for sharing a healthier brownie recipe!
So glad to hear that! Thank you for taking the time to leave a review.
Would it be possible to swap all-purpose flour with almond/ oat/ whole wheat flour? If so, then what would be the right ratio?
Hi there! I have’t tested this recipe with other flours so I can’t guarantee, but I have used oat flour interchangeably in other brownie recipes and it worked out fine so I would go with oat. Brownies are generally more forgiving than most other baking recipes.
This is the best honey-sweetened brownie recipe I’ve tried yet-which is saying a lot since I have tried several and getting the texture right on these can be tricky. Thank you so much for sharing!
Aww I’m so happy to heat that! I love these too! Thank you for taking the time to leave a review 🙂 – Becky
one of the best brownie recipes i’ve tried!! super moist and tasty, will definitely be using this as my go-to!!! the only thing i did differently was use bobs gluten free flour and still absolutely perfect. thanks for sharing!!!
Aw I’m so glad!! Thank you for the review 🙂
were are the measurements
Hi Annie, the measurements are in the recipe card.
I used this recipe for my first attempt at making brownies.
Worked perfectly
Thnaks
Hi Robert! I’m glad to hear that! Thank you for taking the time to leave a review.
I made these gluten free and dairy free! AMAZING!!!
Made them with gluten free flour and swapped the chocolate chips with walnuts. Amazing! Thanks for sharing 😊
Yum! I’m glad you enjoyed it. Thanks for your review!